Workflow Saved Nodes
Save a configured canvas node to your library, export saved nodes as ZIP for backup or sharing, and import node packages.
This guide explains how to save a configured canvas node to your library, export saved nodes for backup or sharing, and import a node package so saved nodes appear in the workflow editor.
Overview
A saved node is a reusable template stored in your library. It appears in the workflow graph editor’s left sidebar under Saved workflow nodes, grouped by category. You can drag it onto the canvas like a built-in component.
Save a Node to the Library
Steps
- Open the workflow graph editor for the workflow you are editing.
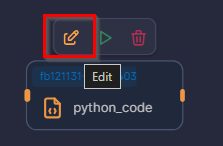
- Select the node on the canvas you want to turn into a reusable template.
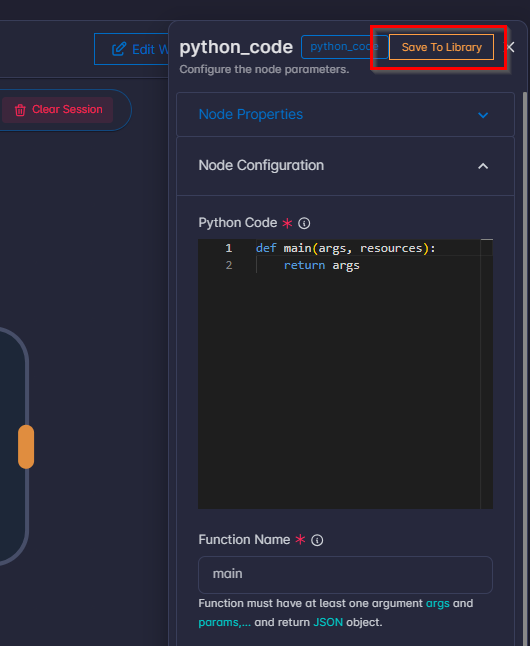
- Open the node details drawer on the right (it shows the node name and Configure the node parameters).
- Click Save to Library.
Form Fields
In the Save to Library dialog, fill in:
| Field | Required | Notes |
|---|---|---|
| Name | Yes | A clear, unique name for the library entry. |
| Category | Yes | Used to group entries in the sidebar (for example Library, Parsers, Enrichers). |
| Tags | No | Optional labels; type a tag and press Enter to add more. |
| Author | Yes | Who owns or maintains this template. |
| Version | Yes | For example 1.0.0. |
| Icon | Yes | An image file for the node in the sidebar. |
| Is unique | Yes | When on, only one instance of this node type is allowed per workflow when placed from the library. |
| Description | No | Optional longer description. |
Click Save to Library in the dialog footer to submit, or Cancel to close without saving.
Tips
- Configure the node on the canvas before saving to the library; the library entry captures that configuration as a starting point for new placements.
- Editing the library template later does not automatically change nodes that were already placed on workflows.
Export Saved Nodes
Export downloads a ZIP file containing the selected saved workflow nodes from the library. Use it for backup, sharing with your team, or importing on another environment.
Steps
Stay in the workflow graph editor. In the left sidebar, scroll the node list until you see the heading Saved workflow nodes.
Export One Node
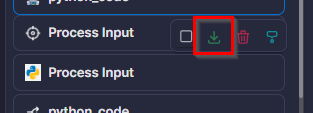
- Click the saved node card so its toolbar appears.
- Click Download node.
Export Several Nodes at Once
- On each card you want, click Select node.
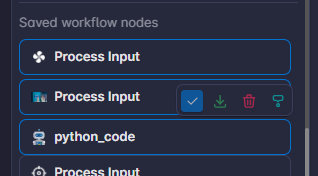
- When at least one node is selected, a download icon appears in the row with the Search nodes field. Click it to download a single ZIP containing all selected nodes.

Note
To clear the selection, use the clear selection control (X) next to the download icon.
Result
Your browser saves a ZIP file.
Import Saved Nodes
Import installs saved node packages from a ZIP file into the system so they show up under Saved workflow nodes when you edit a workflow.
Steps
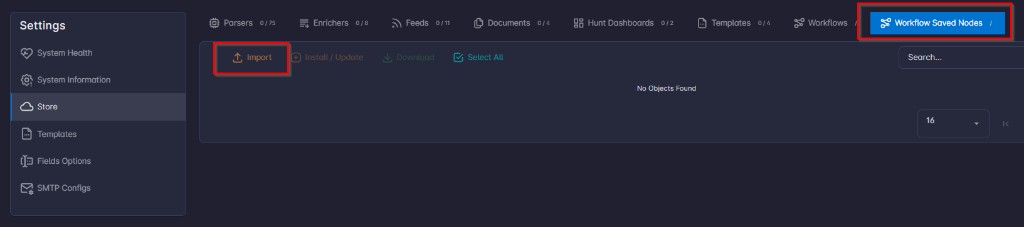
Import is done from Settings, not from the graph editor:
- Open Settings.
- Open the Store tab.
- Select the Workflow Saved Nodes sub-tab.
- Click Import and choose a
.zipfile (compressed package of saved nodes, the same kind produced by Export).
After a successful import, open any workflow’s graph editor and confirm the nodes appear under Saved workflow nodes.
If Something Fails
- Duplicate id: If a node in the package already exists with the same identifier, that item may be skipped or reported as a conflict. Resolve duplicates by removing the old entry or using a different package, per your team process.
- Missing node types: The environment must support the same underlying node types (components) as the system where the package was built. If a type does not exist here, import may fail for that entry; check any result or error message shown after import.